Table of Contents
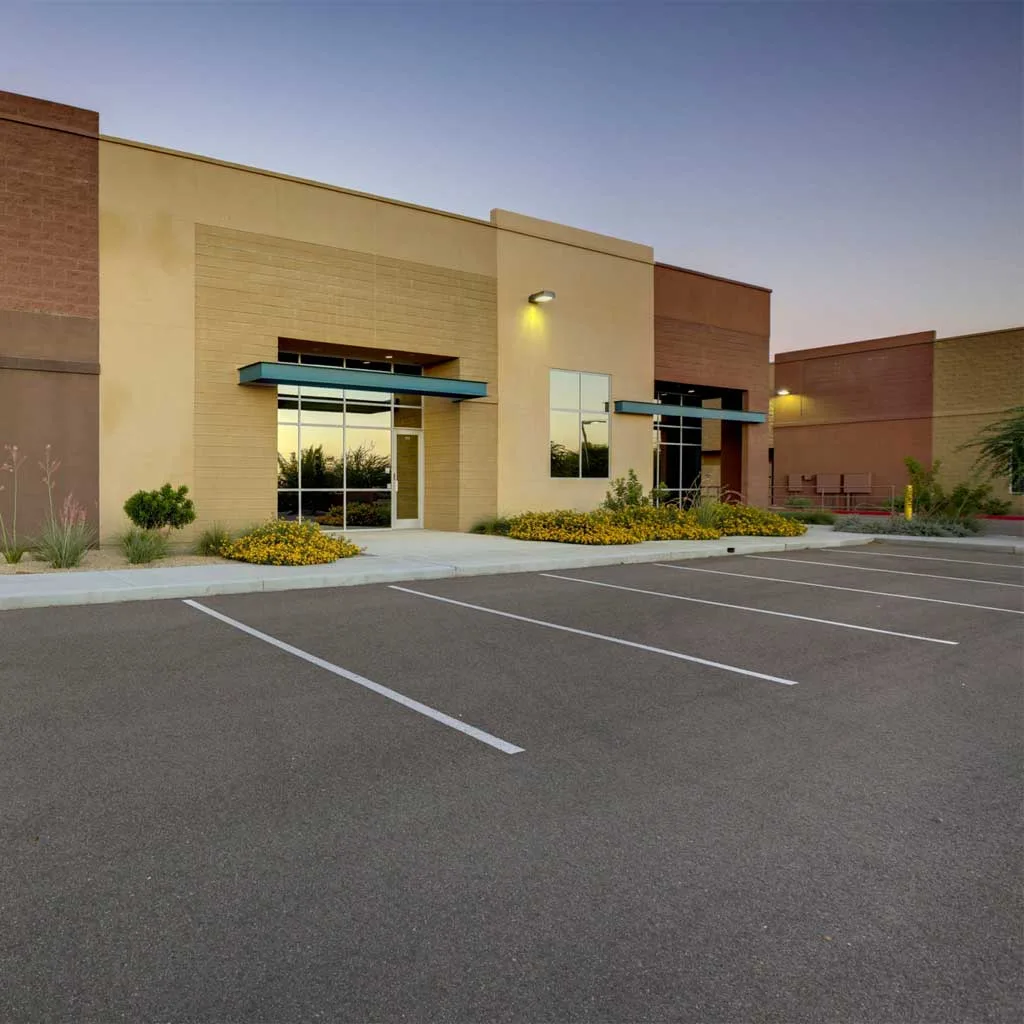
A well-built paver patio is one of the best investments you can make in your Long Island home. It extends your living space outdoors, creates a gathering place for family and friends, and adds real value to your property. This guide covers everything you need to know about planning, designing, and installing a paver patio that will perform for decades through Long Island's demanding climate.
Planning Your Patio Project
Before selecting materials or calling contractors, spend time thinking through a few fundamental questions. Good planning up front prevents costly changes during construction.
How Will You Use the Space?
The intended use of your patio should drive every design decision. A small dining patio off the kitchen door has different requirements than a large entertaining space with a fire pit and outdoor kitchen. Think about how many people you typically host, whether you want separate zones for dining and lounging, and which direction the patio should face for sun or shade exposure.
Sizing Your Patio
The most common mistake homeowners make is building a patio that is too small. Once you add furniture, a grill, and walking space, square footage disappears quickly. Here are general sizing guidelines:
- Intimate dining patio (2 to 4 people): 150 to 200 square feet
- Family dining and lounging: 300 to 400 square feet
- Full entertaining space with grill area: 400 to 600 square feet
- Multi-zone patio with fire pit and outdoor kitchen: 600 to 1,000+ square feet
Location and Orientation
On Long Island, most patios are installed directly off the back of the house, accessible from the kitchen or family room. South-facing patios get the most sun throughout the day, while north-facing patios stay cooler in summer. Consider prevailing winds from the south and southwest during summer months, especially if you are near the coast in areas like Babylon, Islip, or the South Shore. A well-placed retaining wall or privacy screen can block wind without sacrificing the open feel.
Also consider the grade of your yard. Many Long Island homes, especially on the South Shore, have relatively flat lots, which makes patio installation straightforward. Homes on the North Shore or in hilly areas like Cold Spring Harbor, Huntington, or Northport may require grading work or retaining walls to create a level patio surface.
Popular Patio Materials and Brands
The material you choose affects the look, cost, durability, and maintenance requirements of your patio. Here are the most popular options for Long Island installations.
Cambridge Pavers
Cambridge is a Long Island-based manufacturer and the most popular choice among our customers. Their Armortec surface protection is built into the paver during manufacturing, making the surface resistant to stains, fading, and wear without needing a separate sealer. Popular patio collections include the Ledgestone XL, Sherwood Collection, and the Cambridge Pavingstones Maytrx wall system for integrated seating walls. Cambridge offers a lifetime limited warranty and produces a wide range of colors, textures, and sizes.
Nicolock Pavers
Nicolock is another trusted Northeast manufacturer known for rich, consistent color blends. Their paving stones are manufactured with a proprietary process that prevents color fading over time. Popular patio lines include the Colonial, Ridge, and the newer Mega series, which features large-format pavers that create a clean, modern look. Nicolock also offers a lifetime limited warranty.
Techo-Bloc
Techo-Bloc is a premium manufacturer that has gained popularity for their modern, architecturally inspired designs. Their Blu 60 Smooth and Borealis lines offer large-format slabs with clean lines that suit contemporary homes. Techo-Bloc products tend to sit at the higher end of the price range but deliver a distinctive look that sets your patio apart. They are a strong choice for homeowners in upscale Long Island communities like Great Neck, Manhasset, or Dix Hills.
Natural Stone
For a timeless, high-end look, natural stone patios are hard to beat. Bluestone is the classic Long Island choice. It is quarried in the Northeast, weathers beautifully, and complements both traditional and contemporary homes. Full-color bluestone (mixed tones of blue, gray, rust, and green) is the most popular variety, while thermal-finished bluestone offers a more uniform, slip-resistant surface. Other natural stone options include granite, travertine, and limestone, though these are less common on Long Island. Natural stone patios typically cost $35 to $55 per square foot installed.
Design Patterns and Styles
The laying pattern you choose gives your patio its visual character. Unlike driveways, where structural strength drives pattern selection, patios give you more freedom to choose based on aesthetics.
Popular Patio Patterns
- Random or ashlar pattern uses three or four paver sizes arranged in a natural, non-repeating layout. This is the most popular choice for patios because it looks organic and avoids visible grid lines.
- Running bond is a classic brick-like pattern that works well with rectangular pavers. It creates clean horizontal lines and suits both traditional and modern homes.
- Herringbone adds visual interest with its interlocking V-shape. The 45-degree version creates a more dynamic look, while 90-degree herringbone is more structured.
- Large-format slab uses oversized pavers (typically 24 by 24 inches or larger) for a sleek, modern appearance. Techo-Bloc and Cambridge both offer large-format options that are gaining popularity in newer Long Island construction.
- Circle kits and fan patterns create striking focal points. These are often used around a fire pit or as a central medallion within a larger patio layout.
Borders and Accents
A contrasting border frames your patio and gives it a finished, polished look. A soldier course border in a darker shade is the most popular option. Double borders and inlay bands add further detail. Many Long Island homeowners also use Belgian block as a border material, which provides a classic aesthetic that transitions well where the patio meets the lawn.
Multi-Level Patios
If your yard has a slope or you want to create distinct zones, a multi-level patio connected by steps is an effective design approach. A raised dining area near the house can step down to a lower lounging or fire pit area. The level changes are typically handled with matching paver steps or integrated retaining wall blocks. This design is especially popular in Northport, Commack, and other North Shore communities where sloped backyards are common.
Planning a Patio Project?
We offer free on-site consultations with design guidance and detailed estimates.
Get Your Free EstimatePatio Cost Breakdown on Long Island
Patio pricing on Long Island depends on the size, material, design complexity, and site conditions. Here is a detailed breakdown to help you budget accurately.
| Material | Installed Cost (per sq ft) |
|---|---|
| Standard concrete pavers (Cambridge, Nicolock) | $20 to $25 per sq ft (Classic) |
| Upgraded concrete pavers (patterns, borders, blends) | $25 to $30 per sq ft (Signature) |
| Natural bluestone | $25 to $35 per sq ft (Premium) |
| Porcelain pavers | $25 to $35 per sq ft (Premium) |
| Concrete slab (stamped) | $15 to $25 per sq ft |
Project Size Estimates
| Patio Size | Standard Pavers | Premium / Natural Stone |
|---|---|---|
| 200 sq ft (small dining) | $3,800 to $5,000 | $5,000 to $7,000 |
| 350 sq ft (mid-size) | $6,650 to $8,750 | $8,750 to $12,250 |
| 500 sq ft (large entertaining) | $9,500 to $12,500 | $12,500 to $17,500 |
| 800+ sq ft (multi-zone) | $15,200 to $20,000 | $20,000 to $28,000+ |
What Drives the Price Up or Down
- Material tier. Standard concrete pavers are the most affordable. Natural stone and porcelain sit at the top of the range.
- Pattern complexity. A random ashlar layout costs less in labor than intricate herringbone or custom inlays.
- Site access. If materials need to be carried through a narrow side yard or over fencing, labor costs increase.
- Grading and excavation. A flat, well-drained yard is simpler to work with. Sloped or wet sites require more preparation.
- Add-ons. Built-in seating walls, fire pits, steps, and lighting all add to the total project cost.
We provide free, no-obligation estimates with a full cost breakdown specific to your project. We also offer flexible financing options if you want to spread payments over time.
The Patio Installation Process
A patio is only as good as the base beneath it. Here is the step-by-step process that Brothers Paving & Masonry follows on every patio installation.
Design Consultation and Layout
We visit your property, discuss your goals and budget, and mark out the patio footprint with stakes and string. This is where we finalize size, shape, material, and pattern. We also identify any underground utilities and plan drainage.
Excavation
We excavate the patio area to a depth of 10 to 14 inches, depending on soil conditions. On Long Island, we commonly encounter sandy soil on the South Shore and heavier clay on the North Shore. Each soil type requires specific base depth adjustments for long-term stability.
Grading and Drainage
The subgrade is graded to slope away from the house at a minimum of 1/4 inch per foot. This ensures water drains off the patio rather than pooling against your foundation. If needed, we install drainage lines or connect to existing drywells.
Base Installation and Compaction
We install 6 to 8 inches of crushed concrete or 3/4-inch processed gravel as the base material. The base is placed in lifts and mechanically compacted between each layer using a plate compactor. This compacted base is the foundation of the entire patio.
Bedding Layer
A 1-inch layer of concrete sand is screeded over the compacted base using guide rails. This creates a perfectly level surface for the pavers to sit on and allows for fine-grade adjustments.
Paver Installation
Pavers are placed by hand according to the selected pattern, starting from a fixed edge and working outward. Each paver is tapped into position. Edge cuts are made with a diamond-blade wet saw for clean, precise fits around curves and borders.
Edge Restraints and Joint Sand
Heavy-duty edge restraints are secured around the patio perimeter with spikes. Polymeric sand is swept into the joints, and the entire surface is compacted with a plate compactor (using a protective pad to prevent scuffing). The sand is then activated with a controlled water mist to harden.
Cleanup and Final Walkthrough
We clean the entire work area, restore any disturbed lawn or landscaping, and walk through the finished project with you. We also provide care instructions and answer any questions about maintenance.
Learn more about our paver patio installation services or see detailed patio pricing.
Popular Patio Add-Ons
A patio on its own is great, but adding features transforms it into a true outdoor living space. Here are the most requested add-ons from our Long Island customers.
Fire Pits and Fireplaces
A built-in fire pit is the single most popular patio add-on we install. A wood-burning fire pit constructed from matching paver wall blocks typically costs $2,500 to $5,000 depending on size and complexity. Gas fire pits run $4,000 to $8,000 including the gas line. Outdoor fireplaces are a bigger investment at $8,000 to $15,000, but they create a dramatic focal point and provide wind-protected warmth during Long Island's cool spring and fall evenings.
Outdoor Kitchens
Outdoor kitchens range from a simple built-in grill island ($5,000 to $10,000) to a full kitchen with grill, refrigerator, sink, and bar seating ($15,000 to $40,000+). The structure is typically built with concrete block and veneered with matching paver or natural stone. Popular grill brands on Long Island include Lynx, Bull, and Blaze. Gas and electrical connections require licensed tradespeople and may require permits in your town. Learn more about our outdoor kitchen installation services.
Seating Walls
Built-in seating walls made from matching wall blocks provide permanent, low-maintenance seating around the patio perimeter. They are typically 18 to 20 inches high and capped with a flat capstone for comfortable seating. Seating walls cost $75 to $150 per linear foot installed and double as visual boundaries that define the patio space. Cambridge and Nicolock both offer wall block systems designed to integrate with their paver lines.
Pergolas and Shade Structures
A pergola over part of your patio provides filtered shade and architectural interest. Options range from wood (cedar or pressure-treated) to low-maintenance aluminum or vinyl. Freestanding pergolas generally do not require permits on Long Island, but attached pergolas may need one depending on your town. Budget $5,000 to $15,000 for a quality pergola installation.
Landscape Lighting
Low-voltage LED landscape lighting extends the usability of your patio into the evening and adds safety along steps and pathways. Recessed lights can be built into seating walls and step risers during construction. A basic lighting package for a patio area runs $2,000 to $5,000 installed.
Drainage Considerations for Long Island Patios
Drainage is one of the most critical and most overlooked aspects of patio construction. Long Island receives an average of 45 to 50 inches of rainfall per year, and many areas, especially on the South Shore and in parts of Nassau County, have high water tables. If water pools on or around your patio, it will eventually undermine the base and cause settling and shifting.
Surface Drainage
Every patio must slope away from the house. The minimum recommended slope is 1/4 inch per foot, which is enough to move water off the surface without being noticeable when walking. For a patio that extends 16 feet from the house, that means the far edge should be roughly 4 inches lower than the edge against the house.
Subsurface Drainage
In areas with poor natural drainage, heavy clay soil, or high water tables, subsurface drainage may be necessary. This typically involves a French drain or channel drain installed along the patio edge, connected to a drywell or directed to a suitable discharge point. Our drainage solutions team evaluates every site before construction begins.
Permeable Pavers
If stormwater management is a concern, permeable pavers are worth considering. These pavers have wider joints or built-in channels that allow rainwater to filter through into a stone reservoir below, reducing runoff. Some Long Island towns are starting to incentivize permeable paving for homeowners looking to reduce their property's impact on local stormwater systems. Cambridge and Nicolock both offer permeable paver options.
Patio Maintenance and Care
Paver patios require very little maintenance compared to wood decks or stamped concrete. Here is a simple routine that keeps your patio looking its best year after year.
- Sweep regularly. Remove leaves, dirt, and debris before they can stain the surface. A leaf blower works well for quick cleanups.
- Rinse with a garden hose. A periodic rinse removes surface grime. Avoid high-pressure washers set above 1,500 PSI, which can dislodge joint sand.
- Spot-treat stains. Grease, food, and drink stains should be cleaned promptly with a paver-safe cleaner. Cambridge pavers with Armortec resist most stains, but treating spills quickly is still recommended.
- Top off joint sand. Check joint levels each spring. If polymeric sand has washed out in any areas, sweep in fresh sand and activate with water.
- Address weeds early. If you see a weed in a joint, pull it before it establishes deep roots. Keeping polymeric sand levels topped off is the best prevention.
- Consider sealing. An optional paver sealer every 3 to 5 years enhances color and adds stain protection. Wait at least 90 days after installation before sealing to allow efflorescence to dissipate.
Winter Care on Long Island
Paver patios handle Long Island winters well. Use a plastic shovel or snowblower for snow removal. Rock salt and calcium chloride are both safe for concrete pavers. Avoid using deicers that contain ammonium sulfate or ammonium nitrate, which can damage the paver surface. In spring, inspect for any pavers that may have shifted during freeze-thaw cycles and top off joint sand as needed.
Ready to Build Your Patio?
Our team will visit your property, discuss your goals and budget, and provide expert guidance at no cost.
Choosing a Patio Contractor on Long Island
The contractor you choose will determine whether your patio lasts 5 years or 50. Here is what to look for when evaluating patio installers on Long Island.
- Check their portfolio. Ask to see photos of completed patio projects, ideally ones similar in size and style to what you want. Better yet, ask if you can visit a finished project in person.
- Verify insurance and licensing. Your contractor must carry general liability and workers' compensation insurance. Ask for certificates and confirm they are current.
- Ask about the base. A contractor who rushes through base preparation or skimps on material depth is setting your patio up for failure. Ask specifically what base material they use, how deep, and how they compact it.
- Read reviews. Check Google reviews, Yelp, and the Better Business Bureau. Look for patterns in feedback, both positive and negative. Visit our reviews page to see what our customers say.
- Get a written warranty. A reputable contractor will provide a written workmanship warranty in addition to the manufacturer's product warranty. Ask about the terms and what is covered.
At Brothers Paving & Masonry, we back every installation with a 5-year craftsmanship warranty. We use quality base materials with a minimum 6 to 8 inches of compacted depth for all patio installations. Our Google rating is 5 stars across 70 reviews.